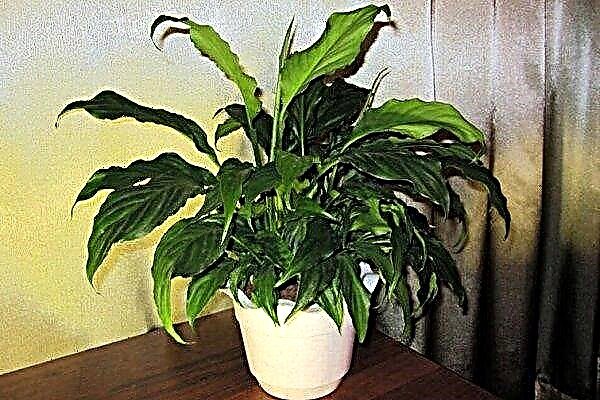
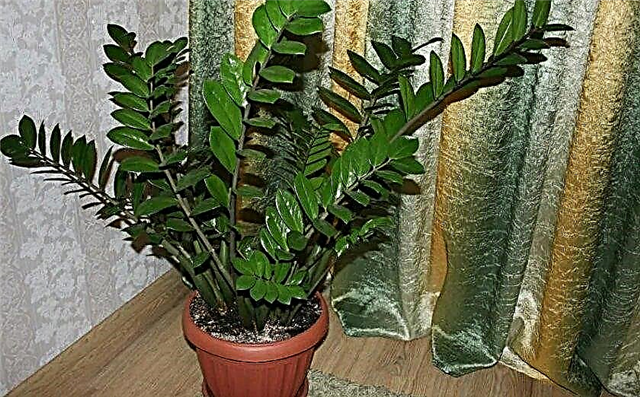
Zamiokulkas amyloid - a popular houseplant with lush green foliage. As he grows, he needs a transplant. Like many perennials, a flower perfectly tolerates this process, but the flower grower must still follow certain rules. About when and how to transplant Zamioculcas, read the review.
How to understand that Zamioculcas needs a transplant
Symptoms for which Zamioculcas needs a transplant can be easily mistaken for signs of other problems:
- growth retardation;
- yellowing and wilting of leaves;
- other signs of wilting.
All this in indoor flowers can be a sign of the presence of pests, root rot and other diseases.

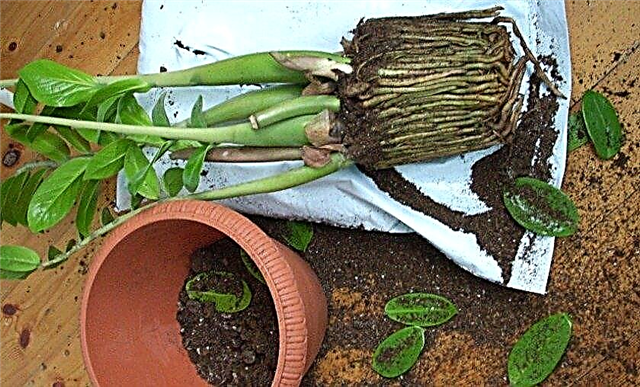
Zamioculcas is the owner of a well-developed root system. If the roots have mastered the entire area of the pot, then the flower stops developing. At this time, he also begins to lack nutrients, so he needs a transplant.
A transplant may be necessary if the drainage in the pot is insufficient. Excess moisture is harmful to the root system, so in this case a transplant is necessary to improve drainage.
After purchasing Zamioculcas in a store, it is also advisable to put it in another container.Important! It is believed that zamioculcas is poisonous, so try to keep it away from children and pets.
And there are several reasons for this:
- a store pot is a temporary container, smaller than necessary;
- unbalanced soil composition - you cannot be sure that it is nutritious enough;
- lack of drainage;
- too large openings at the bottom of the tank.
When and how often can a plant be transplanted
If you transplant Zamioculcas annually, there will be no harm from it. In addition, you can easily notice the presence of pests or problems with the root system. Some gardeners recommend replanting this indoor flower every 2-3 years.
Zamioculcas can be transplanted at any time of the year, but it is best to carry out a transplant in late autumn. In the summer, this can cause an excessive load on the plant, which is in the phase of active vegetation and reproduction. Early spring is also suitable for transplanting.
Did you know? The people called this plant "dollar tree". It is believed that the appearance of each new leaflet portends the owner of a sudden cash profit.
Necessary conditions for transplanting and growing
The plant grows well in diffuse lighting. Therefore, a cloudy day with a moderate air temperature is suitable for transplantation.
For optimal growth and development after transplantation, Zamioculcas require the following conditions:
- "Spotty" lighting, without direct sunlight;
- almost any air humidity - from 40 to 70%;
- temperature +16 ... + 24 ° C;
- well-drained soil;
- weekly watering, which is necessary if the top 4 cm of soil is dry.
Transplant Preparation
To successfully transplant Zamioculcas, you need to prepare:
- universal soil for transplanting;
- a new pot that will be 5 cm wider in diameter than the previous one;
- drainage.
Choose a pot
Zamioculcas need to be planted to the same depth at which it grew in the "old" pot, so buy a tank a little wider and larger than the previous one. The material may be plastic or ceramic; ceramic containers are more beautiful, but it is more difficult to remove zamioculcas from such a pot. Choose a pot taking into account your interior and convenience in caring for the plant.

Soil preparation and drainage
The soil for zamioculcas should be loose and nutritious. You can buy universal soil for planting in a flower shop or prepare the soil mix yourself.
To do this, take:
- loam - part of garden soil with some clay and sand;
- perlite - a mass of volcanic origin used to increase soil friability;
- compost - organic fertilizers that will increase the nutritional value of the soil;
- peat moss.
Important! Peat moss is a natural antiseptic that can destroy putrefactive bacteria, which positively affects the development of zamioculcas after transplantation.
Transplant Walkthrough
Instructions for transplanting zamioculcas:
- Water the plant until water begins to drain from the pot into the pan.
- Put your hand on the ground and turn the container upside down, holding the earthen lump.
- Shake it up and down until an earthen ball slips out of the container.
- If it does not work out, press the neck of the pot several times (provided that it is plastic); after the ground falls off the edges, the plant will be easier to take out.
- If the container is larger than 30 cm in diameter, carefully walk around the perimeter with a spatula to easily remove the earthen lump.
- Cut off all black, curved and diseased roots with secateurs.
- Expand the tangled roots.

- Make a knife 3-4 cuts on the sides of the root ball.
- Put drainage in a new pot; it can be anything: expanded clay, crushed stone, gravel, polystyrene foam, ceramic shards, charcoal.
- Lay a small layer of moist soil on it.
- Set root feed over a layer of moist soil.
- Make sure that the roots do not crumple during transplantation.
- Fill the area around the root lump with prepared soil mixture or universal soil.
Important! Do not crush the soil before watering!
Water the plant so that the water begins to drain into the pan. Under the influence of water, the soil settles. Now it remains to add more soil to the pot, so as to level the surface.
Video: Zamioculcas transplant
Aftercare after transplantation
The plant is extremely unpretentious and can withstand difficult conditions, including drought and low light. Zamioculcas grows well in a cool room.
Zamiokulkas will need periodic watering and fertilizing. It should be borne in mind that after transplanting it will take some time to acclimatize the flower to new conditions - during this period, flower growth is not observed. This is a normal occurrence.
Location
With moderate lighting, zamioculcas develops better, so it’s good in indirect light on the eastern or western windows: where the sun's rays only enter periodically.
Watering
For good development, the flower prefers moderately moist soil. To preserve soil moisture, the soil in the pot can be mulched - this will also impede the compaction of the soil and improve the development of the root system.
When watering, you need to pour water until it starts to drain into the pan. At the same time, watering is stopped, and the water from the pan is drained so as not to contribute to the development of pests. The frequency of watering depends on the drying of the soil: if the soil has dried to a depth of 4-5 cm, then watering is needed. In winter, the plant needs less watering than in summer.
Did you know? In Tanzania, Zamioculcas juice is used to treat ear pain, and its roots are used to treat ulcers.
Fertilizer application period
Zamioculcas is fed during the growing season: in spring and summer. Given the fact that the plant is replanted in new soil, it is fed with a half dose of fertilizers in order to avoid an excess of mineral salts in the soil. This is just as harmful as their flaw.
The fertilizer should contain nitrogen, phosphorus and potassium. It is advisable to purchase liquid fertilizers with an equal proportion of the above components.
Possible transplant and growing problems
Signs of a plant having problems:
- lower leaves turn yellow - most likely, you are waterlogging zamioculcas;

- the tips of the leaves turn brown: the reason is dry air and low humidity - organize more frequent watering;
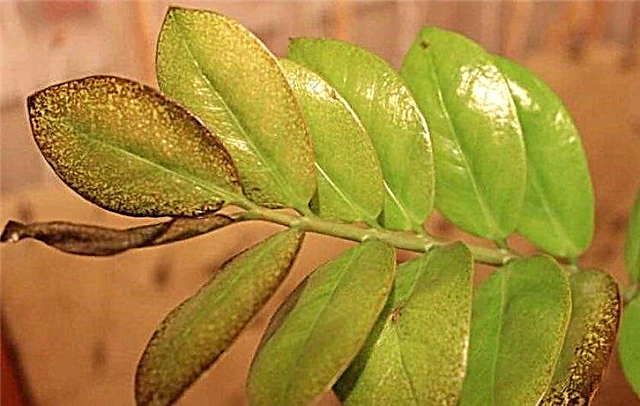
- leaves turn brown and fall off - waterlogging of the soil and the appearance of putrefactive bacteria on the roots.
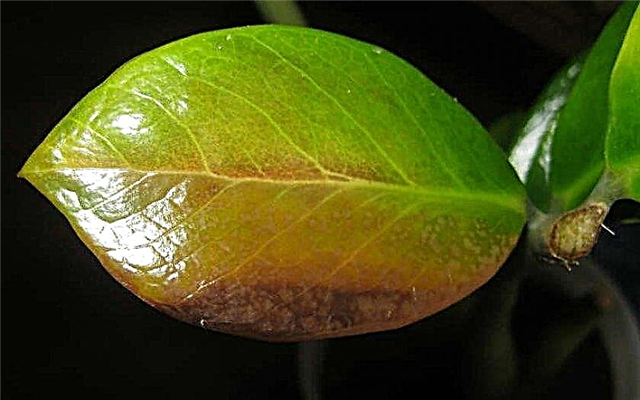
To fix the problem, you need to remove the root ball, examine the roots and remove all dead or diseased parts, then treat the root system with fungicide and transplant the plant into another pot with new soil. In the future, you need to ensure that watering is carried out correctly.
Given the unpretentiousness of Zamioculcas, it will not be difficult for you to transplant and grow this beautiful plant. And it will thank you for your care with magnificent development and flowering.


